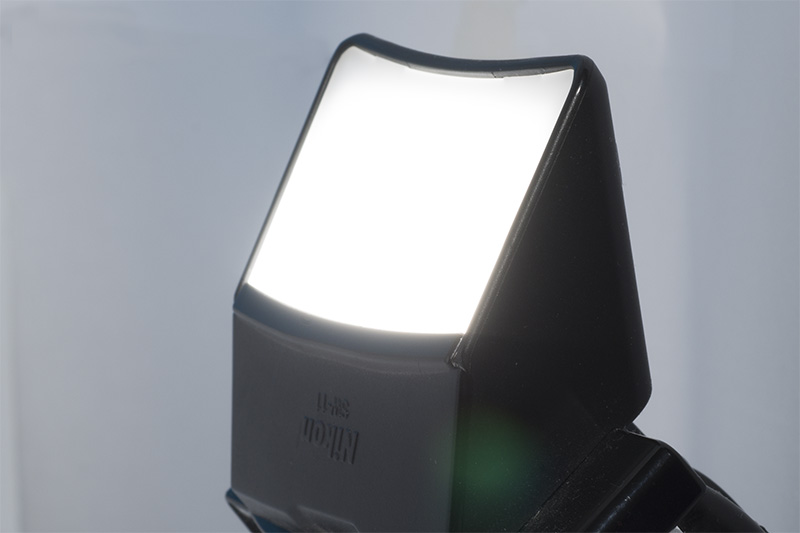
The second part about “How to make macro photos for your flies” is about lighting. Based on my experience in more then 10 years of making macro photos I can say that the rules are:
1. Direct light is not good
2. Diffused light is better than directed light
3. Reflected light is better than direct light
4. Diffused and reflected light is the best
Of course is not about creativity here or some special effects. When I’m talking about macro photos of flies I’m thinking at details very clear without shades and the colors should be real and not spoiled.
For example bellow is my Sony with a built in flash.
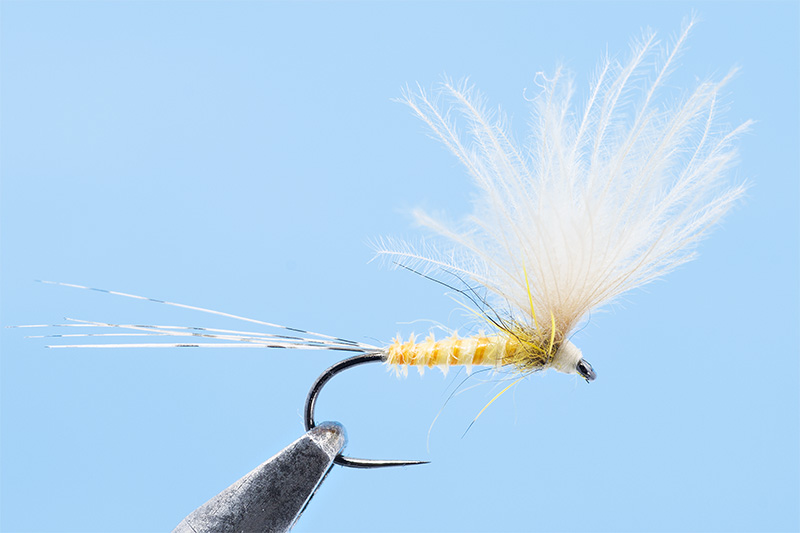
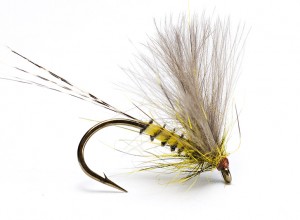
The flash is pointed forward and the photo of my fly looks like this:
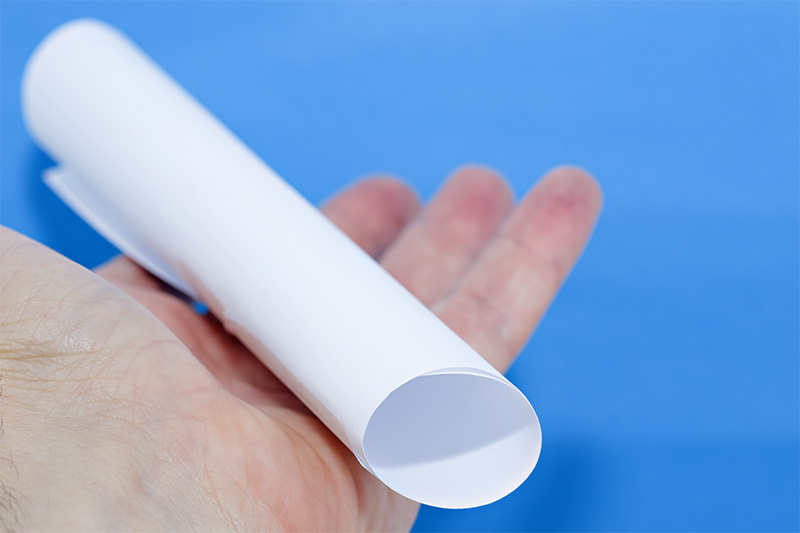
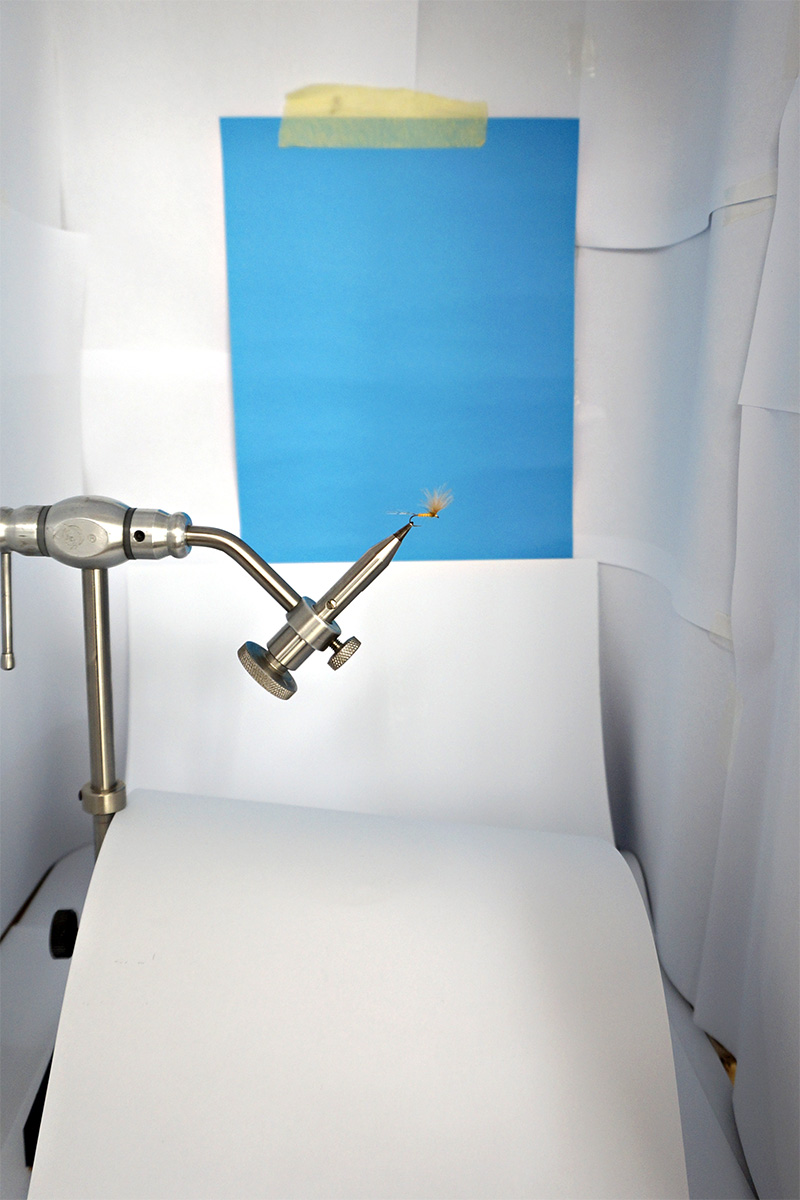
In my first days I used a DYI diffuser made of white paper:
It is cheap and you will not be afraid if you will break it 🙂
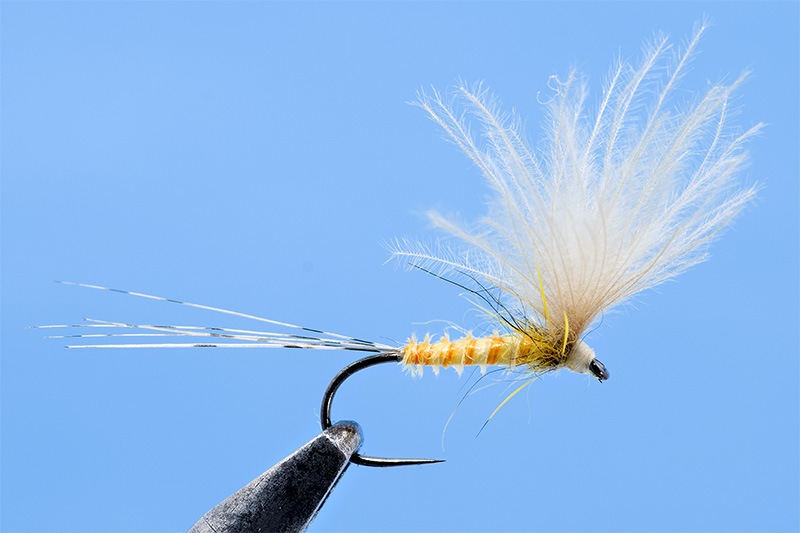
A photo with a this diffuser looks like this bellow:
And in my opinion is not bad at all!
Now about light directions:
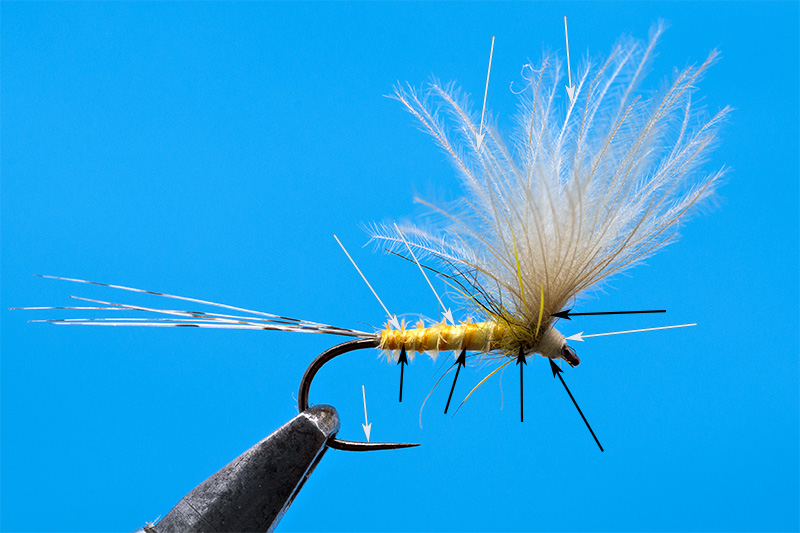
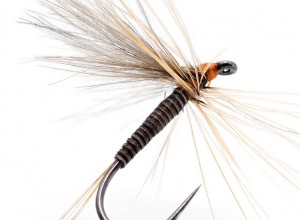
Bellow is the fly photographed from up:
You can see that in the upper part the fly looks ok. But the body is darker and all details from that part are in shadow. To correct this is easy : used a white paper under the fly and you will have enough reflected light:
In this way the fly will look like this:
The body is much better lighting . Even so the middle frontal zone is in shadow…
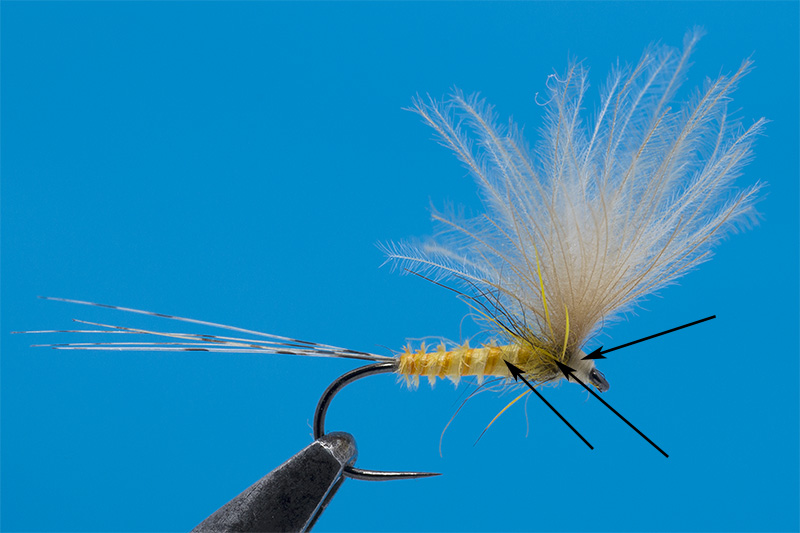
The same fly photographed from up and from the right side:
The same fly photographed from up and from the left side with light source much better diffused:
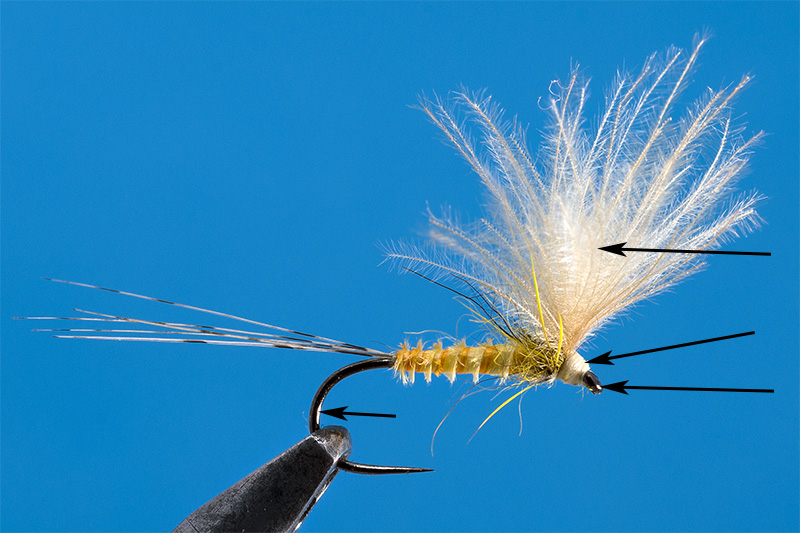
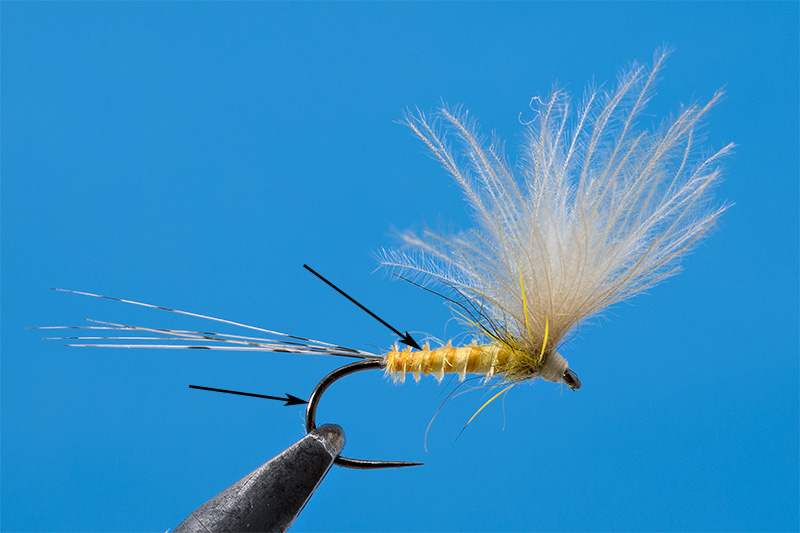
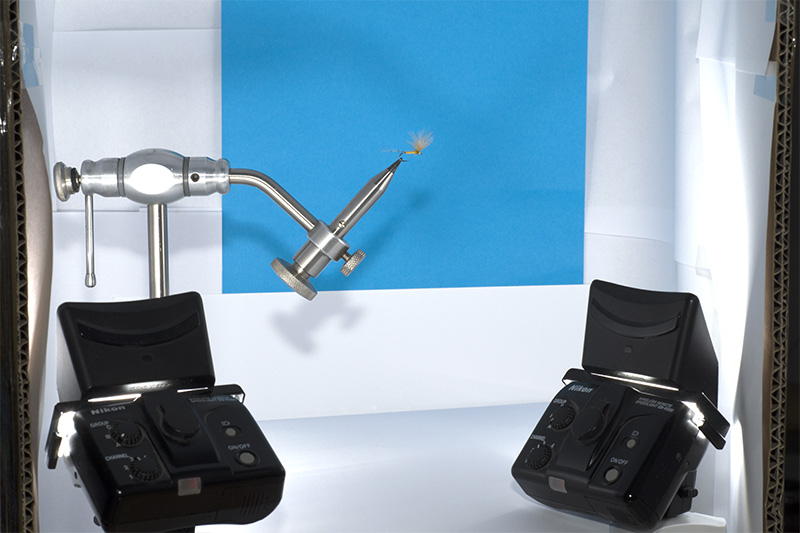
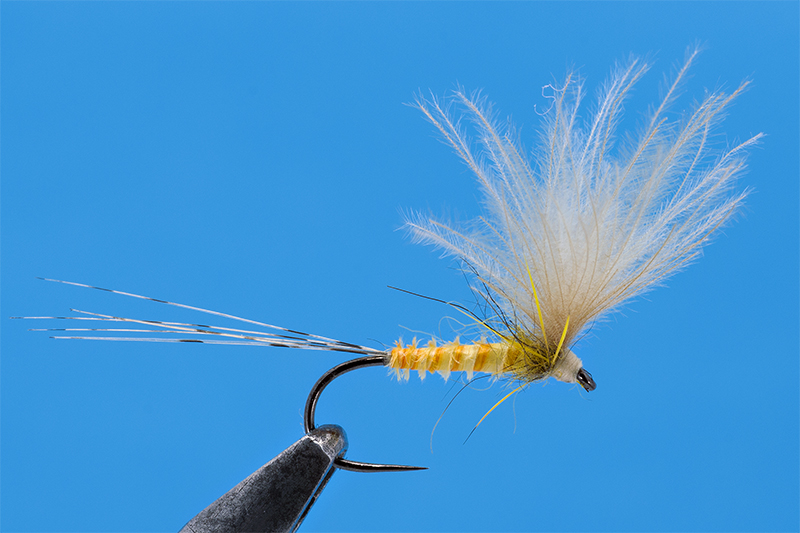
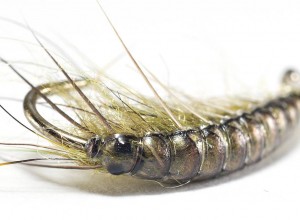
If I used 2 diffused lights set on sides, white paper to reflect from down and light from up the fly will look like this:
As you can see the conclusion is clear: reflected light and diffused light is the best.


October 21, 2015
Very clear tutorial, simple to follow and relatively inexpensive. ?
October 31, 2015
Thanks Lindsay 🙂 I saw on facebook that you made a few photos. What is your impression ?
October 30, 2015
Hi Lucian, great article thanks for sharing.
I do my fly pics slightly differently but ultimately its the same using indirect diffused light. I use 2 speedlites, one directed at a white background which is 12inches or so behind the fly set to a low power. The other speedilte I put a snoot on it (flash bender) and insert a circular piece of foam into it for diffusion. I don’t point this directly at the fly but position it so that the light feathers just in front of it pointing to a white bounce card reflecting the diffused light onto the fly.
I have some iPhone pics of me setup if wish to see them.
Cheers, Tony.
October 31, 2015
Hi Tony,
Thanks for your great info. I really want to see your setup. Is another great tier who is using a nice dyi setup. I will search his site and I will put a link. His tutorial is a great source of info too 🙂
cheers! and have a great weekend!
December 21, 2015
Hi Tony,
Here is a great link where you can see more about macro photo applied in fly tying:
http://www.flytyingclips.com/photo_flies.html
February 11, 2016
Thanks Lucian, that looks great, just bought me a focus rail 🙂
April 28, 2016
How neat! Is it really this silmpe? You make it look easy.
October 31, 2015
Lucian,
Thanks I would certainly be interested in seeing that if you could post a link thanks
.
I’ve made a basic diagram of my setup along with a pdf of the iPhone pics showing the setup and some flies, don’t know if I can post them here but if you give me your email I will send them to you.
I’m reasonably ok with my pics but the method is constantly evolving to get better. I think it would be an improvement to have something similar to your self with a light box with white paper but I with no back to it so that the background is still separately lit and you have that control to make it bright or dark as you wish and also different colours.
That will be the next modification for me to try.
All the best,
Tony.
November 19, 2015
Great stuff Lucian
November 20, 2015
Thanks David 🙂
February 19, 2016
Ook, this is real ingenuity. Really great stuff. I mean really. hope to meet you this summer 🙂
March 2, 2016
Thanks Liviu,
Thanks for your kind words 🙂 For sure we will drink a beer together. Congrats for your child!
April 28, 2016
If you’re reading this, you’re all set, parednr!